Hannibal Lecter – Free Pattern

Make a horror mini of your favorite evil genius Hannibal Lecter.

The pattern has not been tested.

Hannibal – mini monsters

© DrunkenAuntWendyDesigns

Materials

Yarn in Orange, White, Grey, Beige and Taupe

Black Embroider Floss
12 mm safety eyes
Size E crochet hook

Large eye blunt needle

Polyfiberfill

Abbreviations

SC – Single Crochet

Ch- Chain
INC – SC 2 stitches into same stitch

DEC – SC two stitches together


Gauge – Gauge is not important for this project, but if you are making it from the kit, you should use the right size needle to ensure you don’t run out of yarn.

Notes:

Parentheses indicate a repeat. Repeat the stitches in the parentheses for the number of times indicated.

The bracketed number [] is the number of stitches at the end of each row.

I spread my increases out so there isn’t a seam on the finished piece. If you do not like this method, you can do regular increases.

Crochet section is worked in partly in the round. Use a stitch marker or a scrap piece of yarn to mark the beginning of each row. Then you don’t have to count every row. Do not join unless instructed to.

If you have any questions, please feel free to email me at drunkenauntwendy@gmail.com.

BODY

In Orange, Ch 2
Round 1: 6 SC in 2nd Ch from hook [6].
Round 2: INC in each stitch [12].
Round 3: (SC, INC) 6 times [18].
Round 4: (SC, INC, SC) 6 times [24].

Round 5: (3 SC, INC) 6 times [30].

Round 6: SC row [30]. Change Color to white

Rounds 7-9: 2 Rows SC [30 stitches each row].

Round 10: (13 SC, DEC) 2 times [28].

Round 11: (5 SC, DEC) 4 times [24].

Round 12: (4 SC, DEC) 4 times [20].

Round 13: (8 SC, DEC) 2 times [18].

Round 14: SC row [18].

Round 15: SC row [18].

Fasten off. Stuff and set aside.

HEAD

In Beige, Ch 2
Round 1: 6 SC in 2nd Ch from hook [6].
Round 2: INC in each stitch [12].
Round 3: (SC, INC) 6 times [18].
Round 4: (5 SC, INC) 3 times [21].

Round 5: (6 SC, INC) 3 times [24].

Rounds 6-8: 3 rows SC [24 stitches each row].

Stop here and insert safety eyes, and start stuffing.

Round 9: (6 SC, DEC) 3 times, Change Color to Grey [21].

Round 10: (5 SC, DEC) 3 times [18].

Round 11: (SC, DEC) 6 times [12].

Round 12: DEC 6 times [6].

Fasten off. Leave a long tail. Using tail thread through stitches from Round 12 and pull up tight to close the hole. Use the grey thread to embroider a deep widows peak.

Attach to Body.

JACKET STRAPS (Make 2)

In White Chain 26

Row 1: Sc in 2nd Ch from hook, SC in remaining 24 stitches. Fasten off and leave a long tail for sewing.

Sew the straps across the chest of the body wrapping around to the back.

MASK

Mask is made working in rows back and forth.

In Taupe, Ch 11

Row 1: Starting in 2nd Ch from hook, DEC, 6 SC, DEC¸turn [8 SC]

Row 2: DEC, 4 SC, DEC, turn [6 SC]

Row 3: Slip Stitch 2 times, 2 SC, Slip Stitch 2 times [2 SC, 4 slip stitch]

Fasten Off, Sew to the face under the eyes.

Using Black Embroidery make two straight stitches for the grill.

New Horror Minis

New horror minis

This year I present my new horror minis. Due to Instagram polling, the Shining Twins are not bloody. I feel as though they should be, but I was overruled. Thankfully, I didn’t ask about Georgie. I think I’m the most proud of Ash and his ripped shirt with tiny chainsaw.

These should be typed eventually, but I wanted to share the new ones.

I started to venture away from the eyelashes I was using. Mainly because I didn’t have the patience to wait for the glue to dry.

Horror Minis

Every year I make mini monsters. Not all are pictured here. There are patterns for:

Beetlejuice

Apparently, I never typed Ghostface. I have quite a few to type and I keep adding new ones.

This year I did Ash, Georgie, Hannibal Lecter, and The Shining Twins. I may do more.

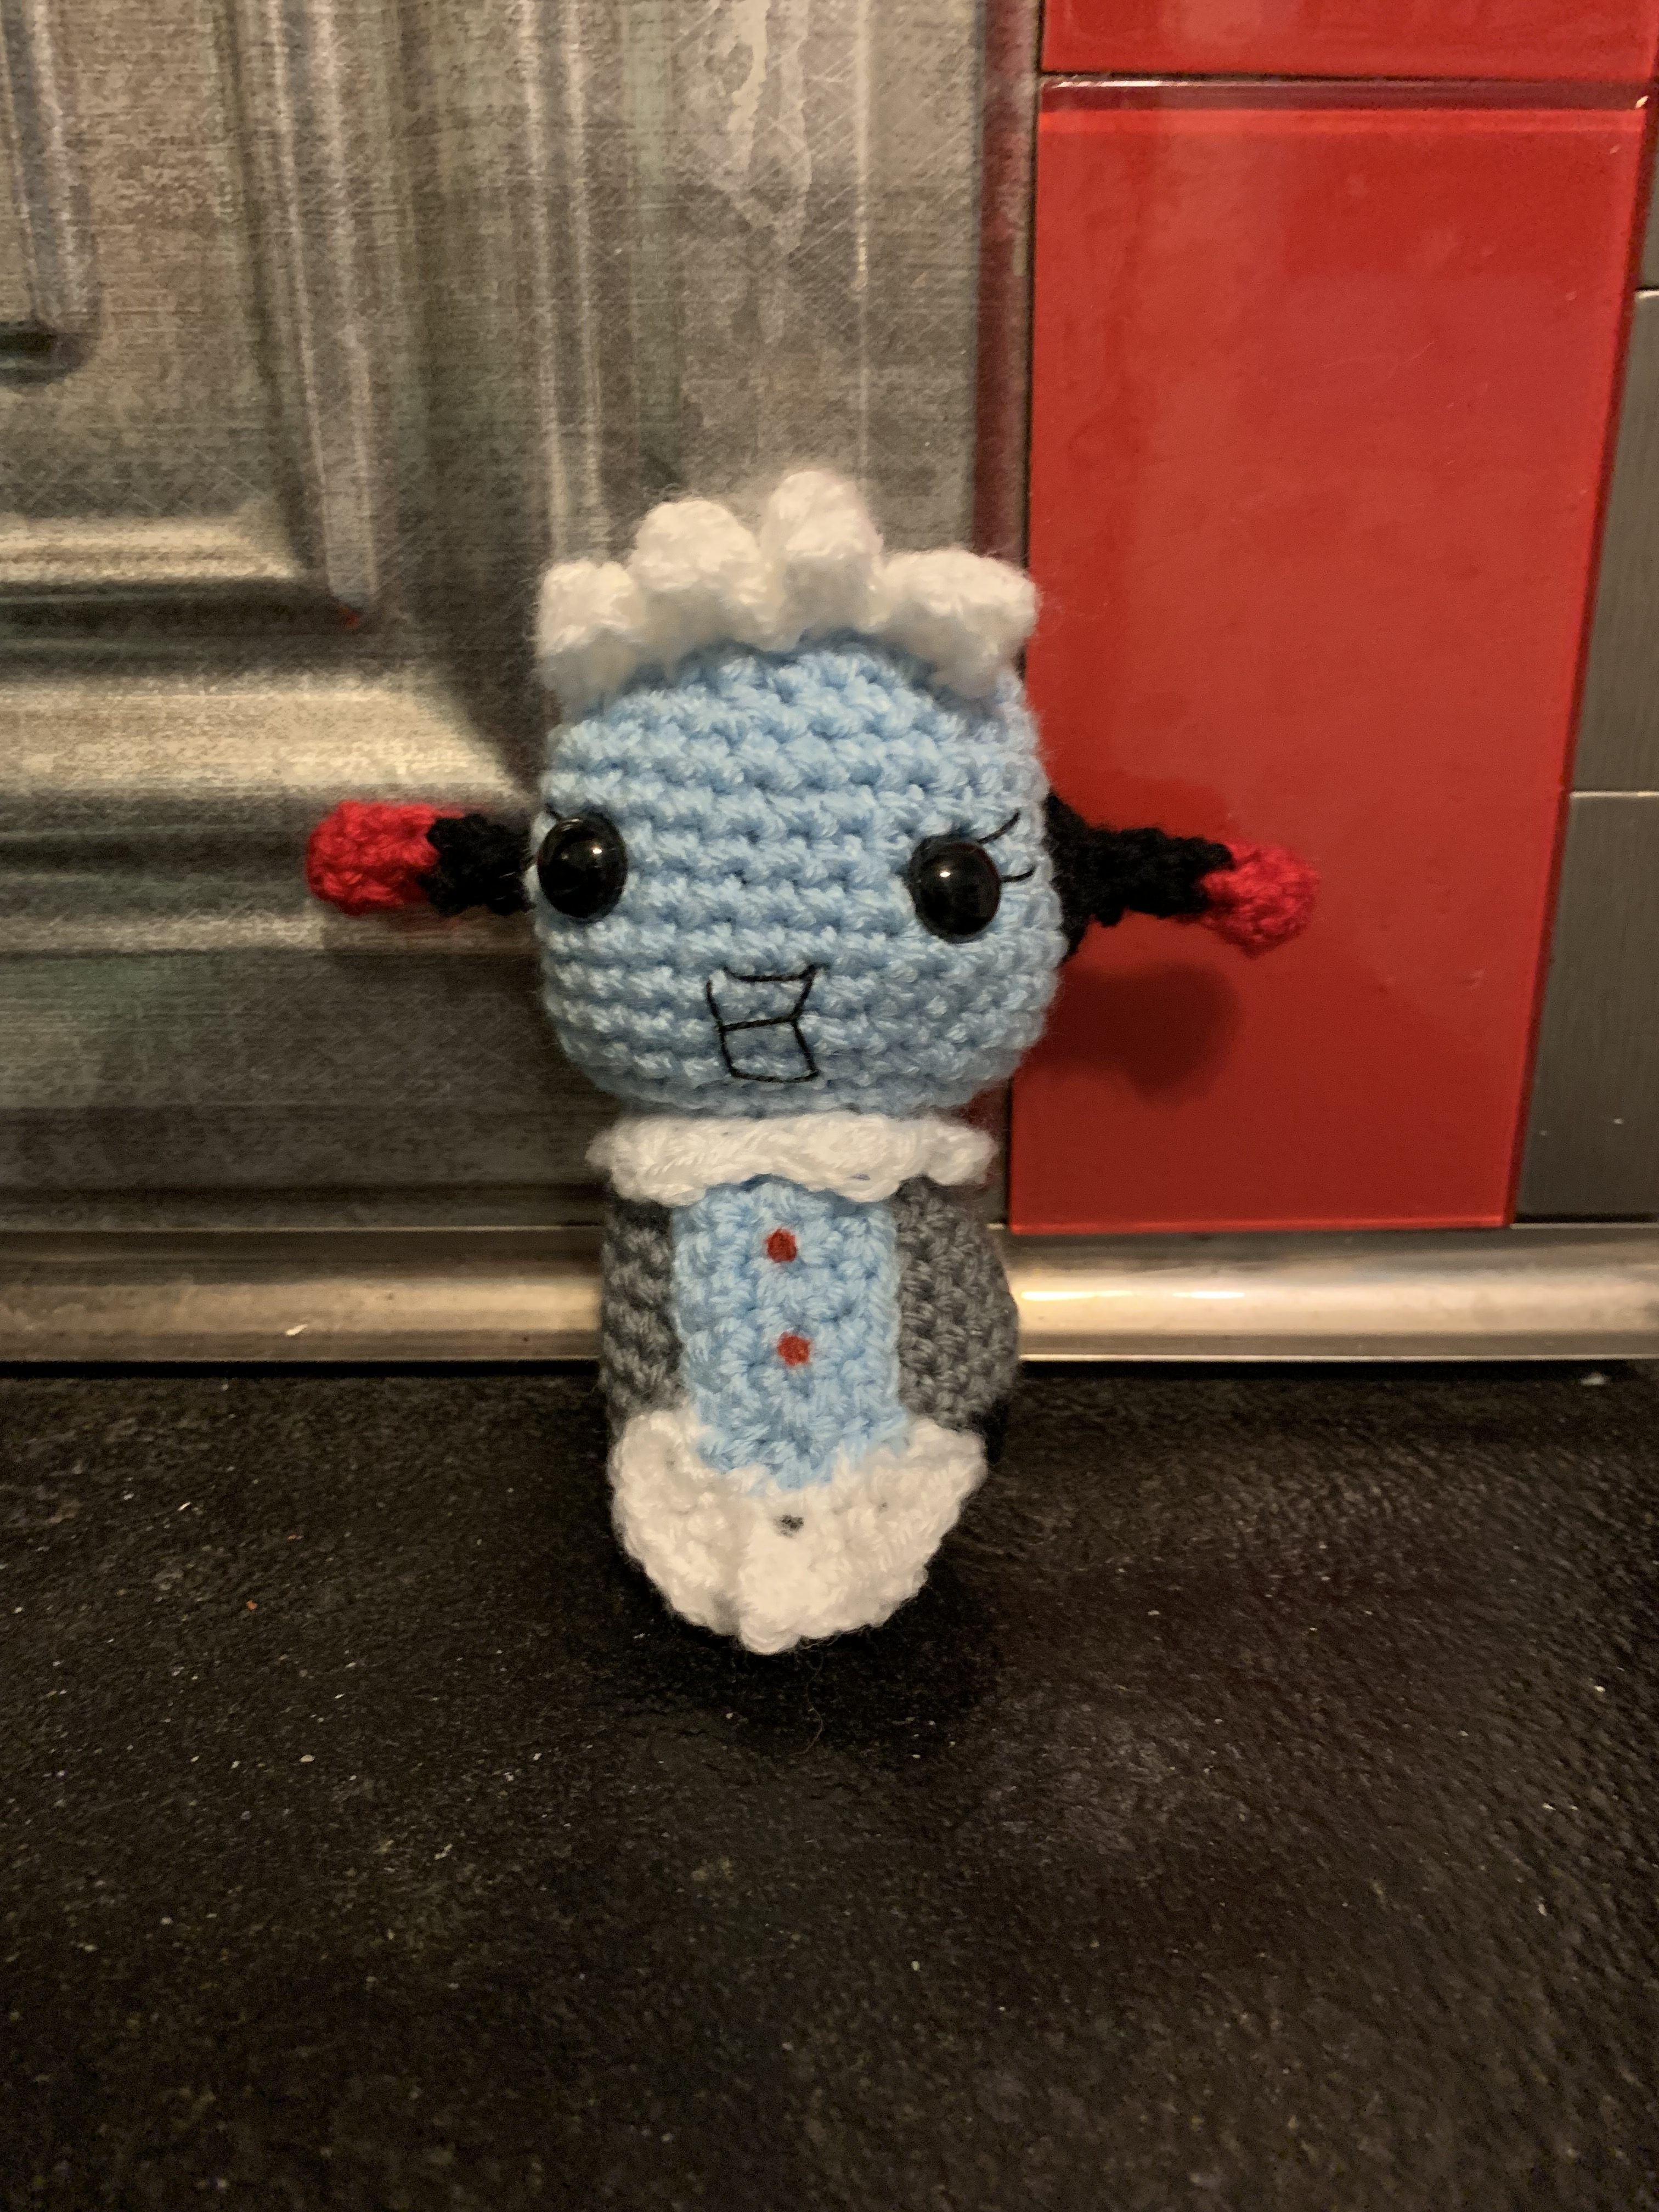
Rosie Free Pattern

Crochet Rosie

Remember the Jetsons? Now, I’m not that old, the cartoon was re-released in the the 80s. Plus the movie was release in 1990. Tiffany was Judy! I know, that still makes me old. Anyway, I always wanted a robot maid. Sadly, they don’t actually exist. I tried a Roomba type floor sweeper, but it kept getting lost under the coffee table.

Anyway, I’ve been feeling a lot of nostalgia lately for the cartoons of my youth. Proven by Strawberry Shortcake.

I’m working on videos and typing lots and lots of patterns.

As always, the pattern hasn’t been tested. If you make her, use #drunkenauntwendy or tag me so I can see your take on my little creation. She’s a quick crochet, you should be able to get her done in about an evening.

Free Pattern

Materials

Sport Weight Yarn

Silver

Black

Sky Blue

White

Red Marker

Black Embroidery Floss

12 MM Safety Eyes

Size E crochet hook

Polyfiberfill

Large Eye Needle

Abbreviations

SC – Single Crochet

HDC – Half Double Crochet

DC- Double Crochet

TC – Triple Crochet

CH- Chain

FO – Fasten Off

SL – Slip Stitch

INC – Make two Single Crochet in Same Stitch

DEC – Single Crochet two stitches together

Note: Entire project is worked in the round. Use a stitch marker or a scrap piece of yarn to mark the beginning of each row. Then you don’t have to count every row. Do not join unless instructed to.

Parentheses indicate a repeat. Repeat the stitches in the parentheses for the number of times indicated.

The bracketed number [] is the number of stitches at the end of each round.

I spread my increases out so there isn’t a seam on the finished piece. If you do not like this method, you can do regular increases.

If you have any questions, please feel free to email me at drunkenauntwendy@gmail.com.

BODY In Black

Ch 2

Round 1: 6 SC in 2nd Chain from hook [6].

Round 2: INC in each stitch [12].

Round 3: (SC, INC) 6 times [18].

Round 4: (SC, INC, SC) 6 times [24].

Round 5: (3 SC, INC) 6 times [30].

Rounds 6-7: 2 rounds SC Change color to silver in last stitch [30 stitches per round].

Rounds 8-9: 2 rounds SC [30 stitches per round].

Round 10: (13 SC, DEC) 2 times [28].

Round 11: (5 SC, DEC) 4 times [24].

Start stuffing.

Round 12: (4 SC, DEC) 4 times [20].

Round 13: (8 SC, DEC) 2 times [18].

Rounds 14-15: 2 Rounds SC [18 stitches per round].

Fasten off

CHEST PIECE in Sky Blue

This section is worked back and forth, not in the round.

Ch 7

Row 1: SC in 2nd Chain from hook, 5 SC [6]

Row 2: Turn, 6 SC [6].

Row 3: Turn, 6 SC [6].

Row 4: Turn, 6 SC [6].

Fasten off.

Sew to center of body above the black section.

Use red marker and draw two buttons on the chest piece.

APRON in White

This section is worked back and forth, not in the round.

Ch 6

Row 1: INC in 2nd Chain from hook, INC 4 more times [10].

Row 2: Turn, INC in each stitch [20].

Fasten off

Sew to body above black over the chest piece.

COLLAR in White

This section is worked back and forth, not in the round.

Ch 19

Row 1: Starting in the 2nd chain from hook (SL, DC INC, SL) 6 times [12 DC, 12 SL]

Fasten off. Sew to top of body.

HEAD in Sky Blue

Ch 5

Round 1: SC in 2nd Ch from hook, 2 SC, 3 SC in last stitch, working on the other side of the 1st 3 stitches 3 SC, 3 SC in end [12].

Round 2: 3 SC, 3 INC, 3 SC, 3 INC [18].

Round 3: 3 SC (SC, INC) 3 times, 3 SC, (SC, INC) 3 times [24].

Round 4: 3 SC (SC, INC, SC) 3 times, 3 SC, (SC, INC, SC) 3 times [30].

Rounds 5-12: 8 rounds SC [30 stitches per row].

Insert Eyes, Using Black Embroidery Floss embroider eyelashes prior to attaching the backs to the eyes. Embroider the mouth as well.

Start Stuffing

Round 13: (3 SC, DEC) 6 times [24].

Round 14: (2 SC, DEC) 6 times [18].

Round 15: (SC, DEC) 6 times [12].

Round 16: DEC 6 times [6].

Fasten off. Thread tail through last round and pull up tight to close. Sew to body.

HAT in White

This section is worked back and forth, not in the round

CH 9

Row 1: Starting in 2nd Ch from hook, (HDC, DC, TC, DC, HDC in same stitch, SL) 4 times [8 HDC, 8 DC, 4 TC, 4 SL].

Fasten off. Sew to top of head.

HEADBOLTS in Red (Make 2)

Ch 2

Round 1: 6 SC in 2nd Ch from hook [6].

Round 2: SC round [6].

Round 3: DEC 3 times, change colors to black [3].

Rounds 4-6: 3 rounds SC [3]

Round 7: INC in each stitch [6].

Round 8: INC in each stitch [12].

Fasten off and sew to sides of head.

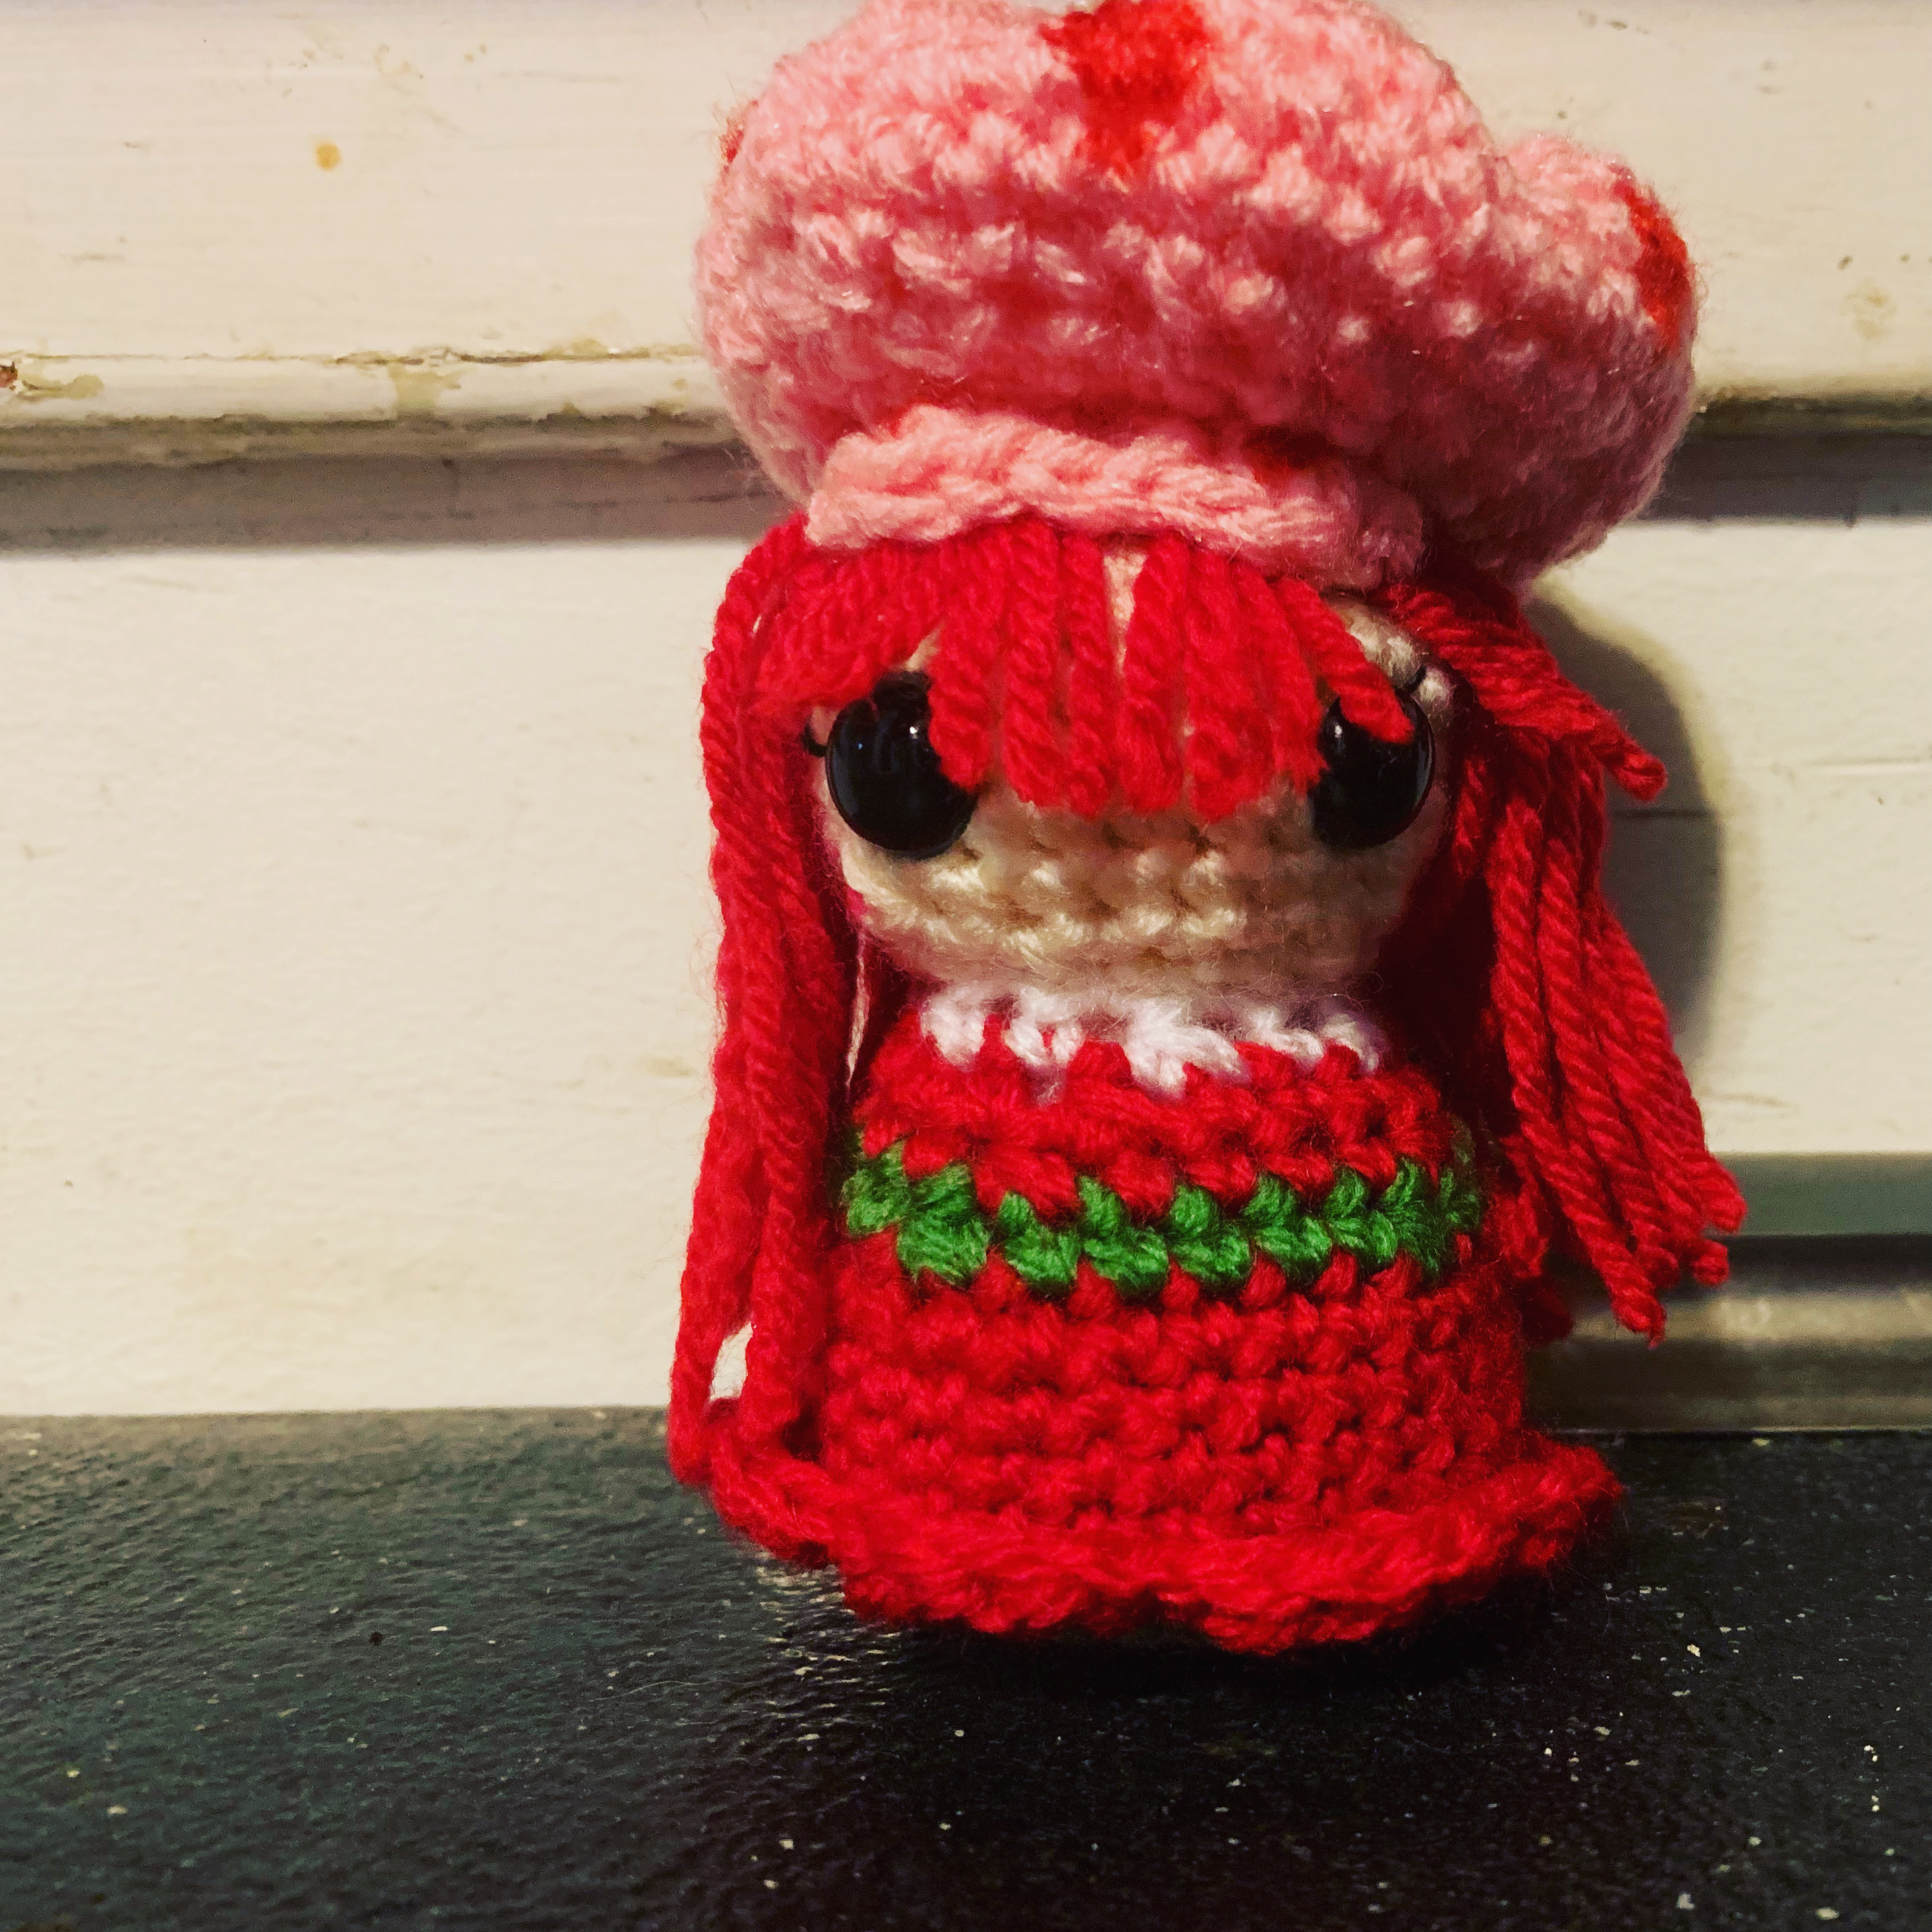
Free Crochet Pattern – Strawberry Shortcake

Crochet Strawberry Shortcake

I have so many patterns to type. I am working on it as my husband and I decided to build a wine bar from scratch and that is taking a lot of my time. I am also working on Youtube tutorials. The first one will be Cokie Nut. Alas, my day job gets in the way of actually shooting and editing videos, but I am plugging along.

One of the things that helps me with designing is trying other peoples patterns. Here’s Krakken Girl!

Krakken Girl

I think I should have made her hair a touch longer, but I loved the sweater and using wire for the tentacles. You can find her shop here. There are some really fun and funky patterns. I obviously don’t have time to make them all, but I can dream.

Anyway, the way the pattern instructed me to put the spots on the tentacles inspired me to try Strawberry Shortcake. I was having the hardest time figuring out how to put the strawberries on her hat. Then it hit me, red sharpie.

Remember Strawberry Shortcake? You don’t have to be old like me, there have been a ton of reboots.

Strawberry Shortcake Mini

As a child of the 80s, I wanted the Strawberry Shortcake toys so bad. Her and her gang besting the Purple Pieman definitely made it to my daily play time.

Here’s the free pattern. Remember free patterns have not been tested. There may be typos or issues. If you make her tag me using @drunkenauntwendy or #drunkenauntwendy so I can see your take.

Have fun.

Materials


Brava Sport Weight Yarn

Cotton Candy (22 yds)

Peapod (4 yds)

White (3 yds)

Cream (10 yds)

Red (15 yds)

12 mm safety eyes

Red Marker

Pink Marker

Black Embroidery floss
Size E crochet hook

Large eye blunt needle

Polyfiberfill

Abbreviations

SC – Single Crochet

Ch- Chain
INC – SC 2 stitches into same stitch

DEC – SC two stitches together
FLO – Front loops only

BLO – Back Loops only

Gauge – Gauge is not important for this project, but if you are making it from the kit, you should use the right size needle to insure you don’t run out of yarn.

Notes:

Parentheses indicate a repeat. Repeat the stitches in the parentheses for the number of times indicated.

The bracketed number [] is the number of stitches at the end of each round.

I spread my increases out so there isn’t a seam on the finished piece. If you do not like this method, you can do regular increases.

Crochet section is worked in partly in the round. Use a stitch marker or a scrap piece of yarn to mark the beginning of each round.  Then you don’t have to count every round. Do not join unless instructed to.

If you have any questions, please feel free to email me at drunkenauntwendy@gmail.com.

BODY

In Peapod, Ch 2
Round 1: 6 SC in 2nd Ch from hook, change color to white [6].
Round 2: INC in each stitch, change color to green [12].
Round 3: (SC, INC) 6 times, change color to white [18].
Round 4: (SC, INC, SC) 6 times, change color to green [24].

Round 5: (3 SC, INC) 6 times, change to red [30].

Round 6: SC row [30].

Round 7: SC in BLOS [30].

Rounds 8-9: SC Row [30 each round].

Round 10: (13 SC, DEC) 2 times [28]. Change Colors to Green

Round 11: (5 SC, DEC) 4 times [24].

Change colors back to Red

Round 12: (4 SC, DEC) 4 times [20].

Round 13: (8 SC, DEC) 2 times, change color to white [18].

Round 14: (SC, DEC) 6 times [12].

Fasten off. Stuff and set aside.

RUFFLE

In Red, join to the BLOS from Round 7, (Slip Stitch, HDC, 2 DC in next stitch, HDC, Sl) 6 times.

HEAD

In Cream, Ch 2
Round 1: 6 SC in 2nd Ch from hook [6].
Round 2: INC in each stitch [12].
Round 3: (SC, INC) 6 times [18].
Round 4: (5 SC, INC) 3 times [21].

Round 5: (6 SC, INC) 3 times [24].

Rounds 6-8: 3 rounds SC [24 stitches each round].

Stop here and insert safety eyes, between rounds 7 and 8, Embroider eyelashes before putting backs on.

Start Stuffing

Round 9: (6 SC, DEC) 3 times [21].

Round 10: (5 SC, DEC) 3 times [18].

Round 11: (SC, DEC) 6 times [12].

Round 12: DEC 6 times [6].

Fasten off.

Using pink marker draw on cheeks

Cut 4 inch sections of red yard to attach for the hair. Attach the hair around round 4 leaving face uncovered about 11 stitches. Attach more hair in rounds 6 and 8 to fill out the hair.

If you chose to add bangs attach yarn in a straight line across the portion you left uncovered. Trim them short after you put on the hat.

HAT

In Cotton Candy, Ch 2
Round 1: 6 SC in 2nd Ch from hook [6].
Round 2: INC in each stitch [12].
Round 3: INC in each stitch [24].
Round 4: INC in each stitch [48].

Rounds 5-9: 5 rounds SC [48 stitches per round].

Round 10: (DEC) 24 times [24].

Round 11: (2 SC, DEC) 6 times [18]

Round 12: (SC, DEC) 6 times [12]

This next section is work back and forth in rows

Row 13: 6 SC in FLOS [6]

Row 14: Ch 1, turn, (SC, INC) 3 times [9].

Row 15: turn, HDC, DC, HDC, SC, SL, SC, HDC, DC, HDC [9]

Fasten off. Weave in ends.

Sew to the top of the head.

Using red marker draw berries on the hat. Intersperse wherever you feel they need to be.

Other old cartoons have been on my work table.

Rosie

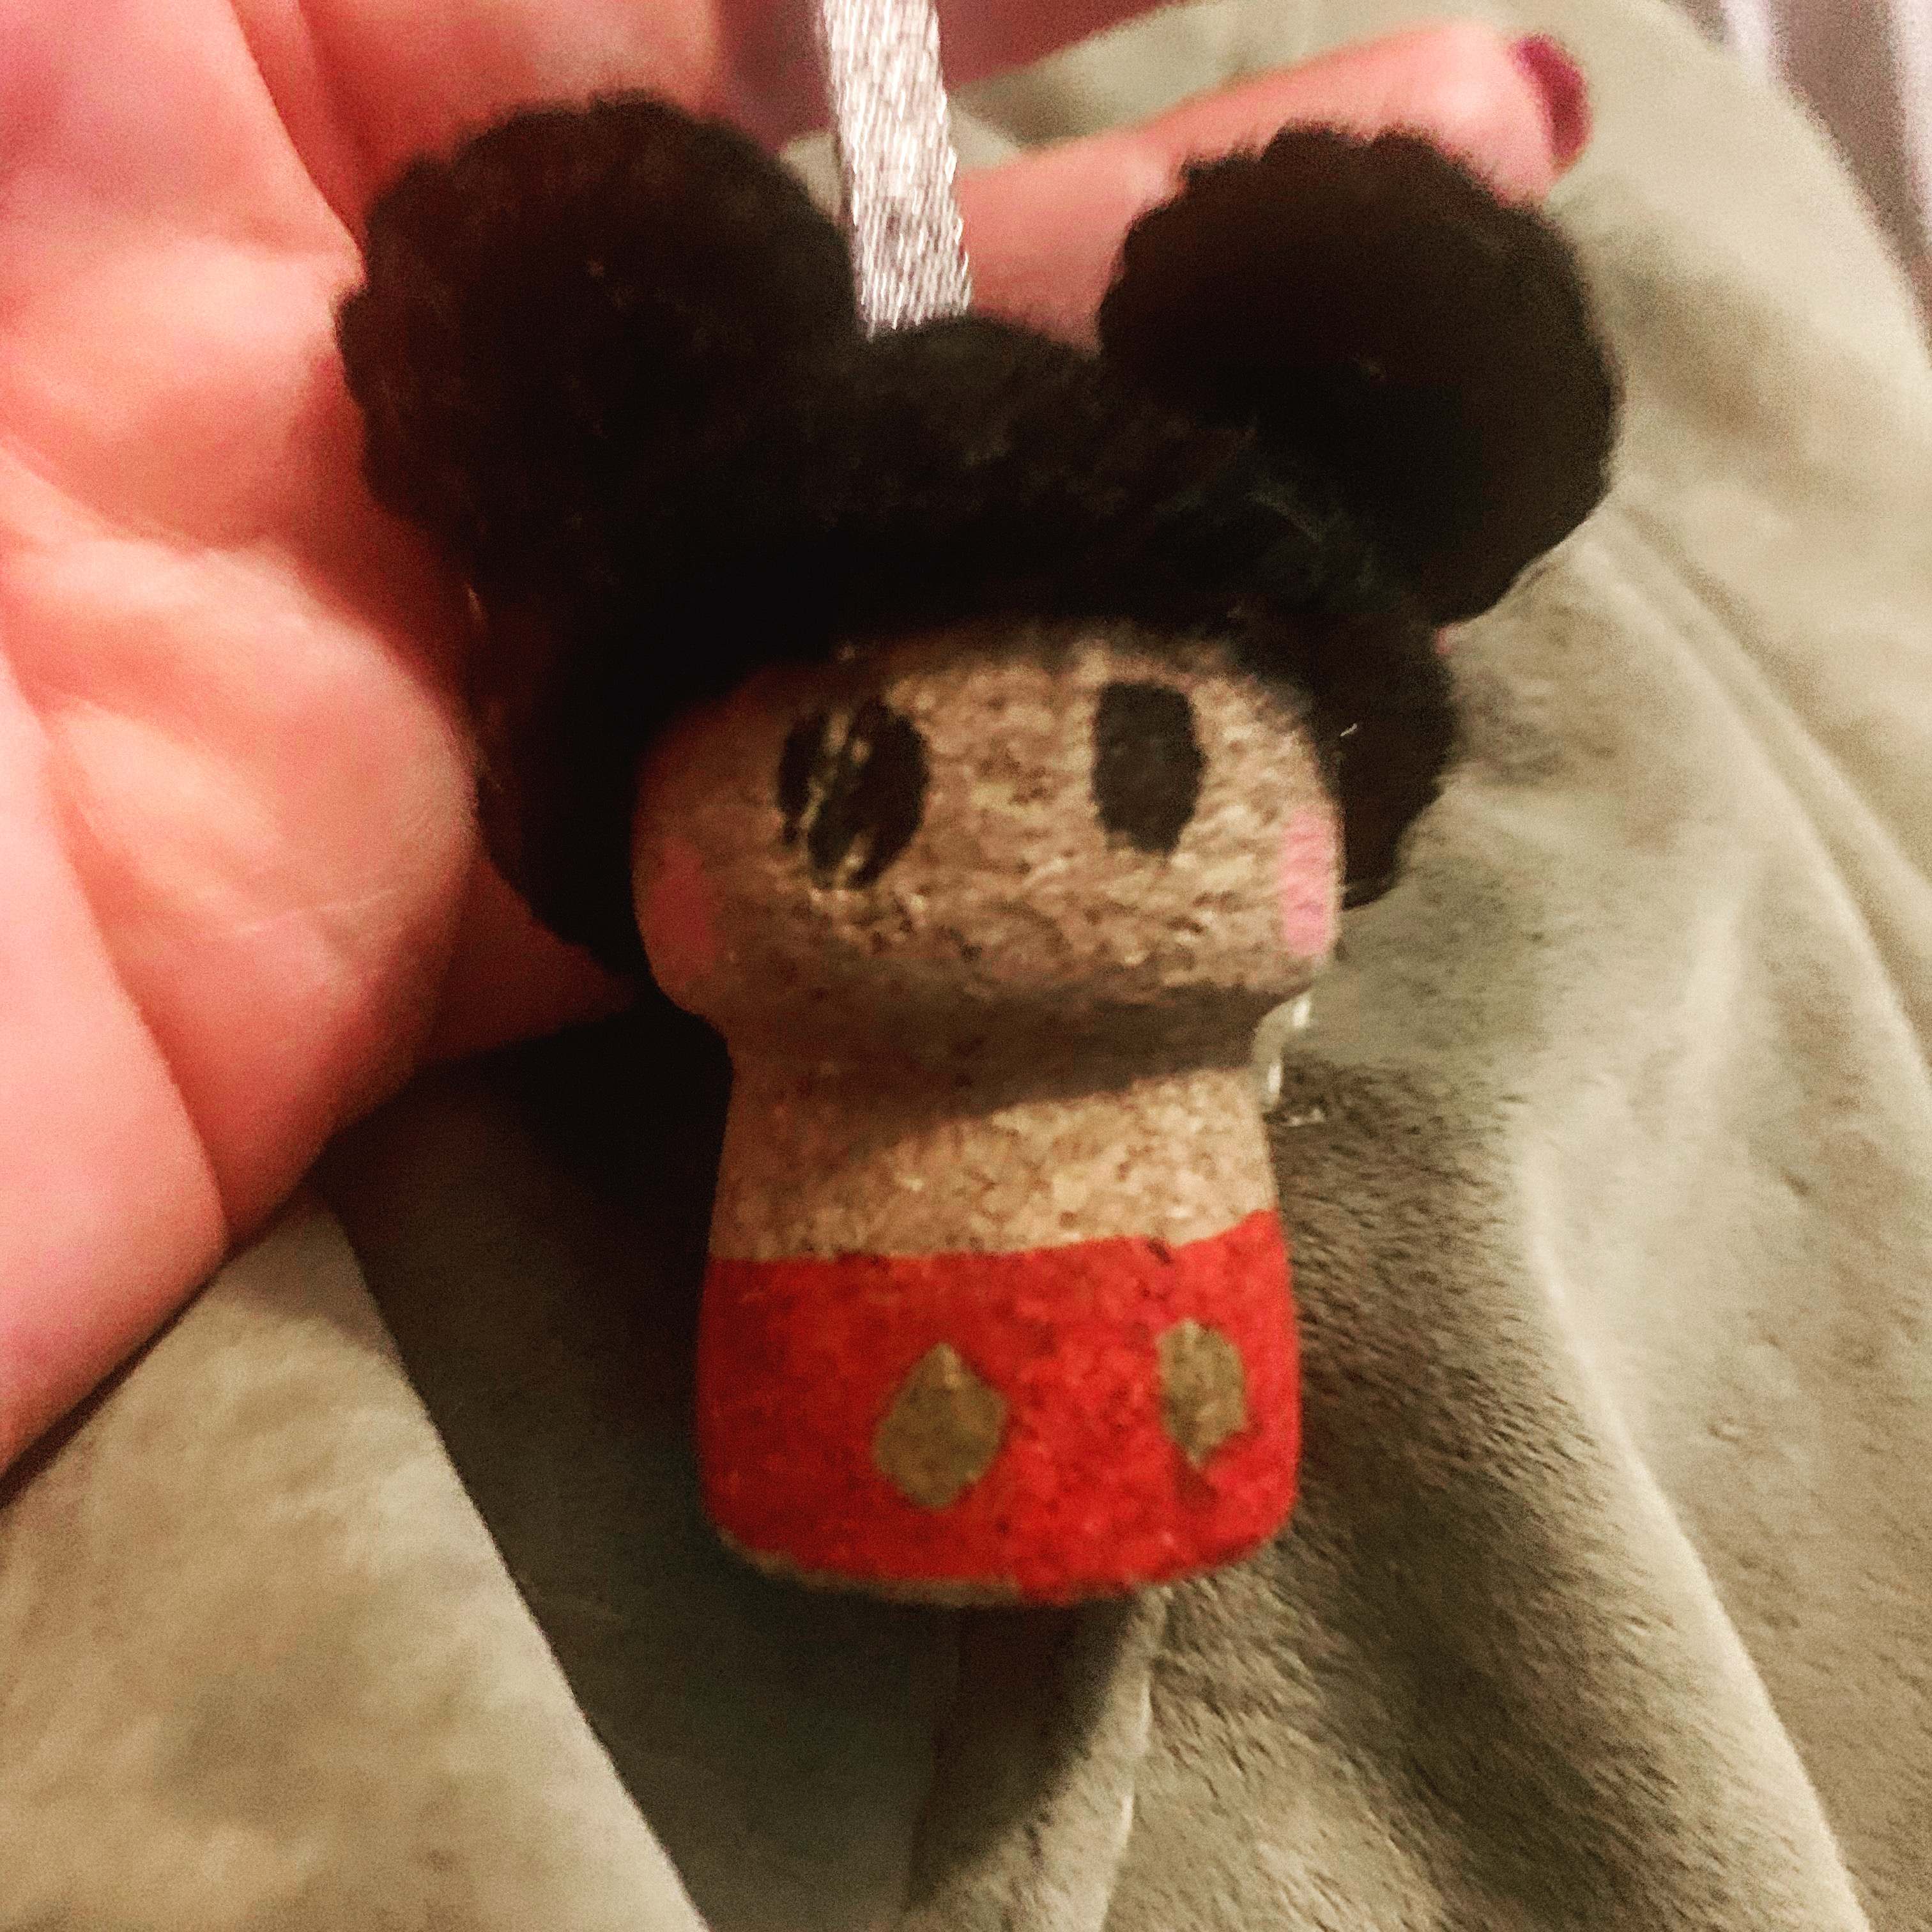
Mickey Mouse Champagne Cork

Mickey Mouse Cork Ornament

I’ve been working on some pop culture throwbacks. My favorite so far is this big guy.

Ludo from the Labyrinth
Side view of Ludo

It’s Ludo from the classic movie the Labyrinth. I was so excited to make him. Special bonus, this time I managed to make a left and right hand. I am notorious for forgetting to switch the thumbs.

He’s done with Homespun, which isn’t my favorite to work with, but it gives me the best results after I use the slicker brush. He’s being typed and I’ll hopefully have him to testers soon.

Now on to the free pattern.

Free Pattern

It’s a long way to Christmas, but you might want to start making these little ornaments now. At least you can start drinking some bubbly to get the supplies.

There are many more corks to come, I’m thinking I might do Christmas in July and a whole new set of corks. Then in preparation for the best holiday ever (Halloween), I will start with more minis. I may have lost my sketch, but I can always come up with more.

As usual, the free patterns aren’t tested. If you make this one, throw out my #drunkenauntwendy so I can find it on Instagram.

Kits and tutorials are coming.

Materials

Sport Weight Yarn

Black (8 yds)

Other

Size E Crochet Hook

Champagne Cork

Screw eye

Ribbon

Black Sharpie

Light Pink Sharpie

Red Sharpie

Yellow/Gold Sharpie

Epoxy 6000

Gauge: is not important for this project

Abbreviations

SC – Single Crochet

CH- Chain

FO – Fasten Off

INC – Make two Single Crochet in Same Stitch

Note: This is worked in the round. Use a stitch marker or a scrap piece of yarn to mark the beginning of each round. Then you don’t have to count every round. Do not join unless instructed to.

Parentheses indicate a repeat. Repeat the stitches in the parentheses for the number of times indicated.

The bracketed number [] is the number of stitches at the end of each round.

I spread my increases out so there isn’t a seam on the finished piece. If you do not like this method, you can do regular increases.

If you have any questions, please feel free to email me at drunkenauntwendy@gmail.com.

BODY

Using your red Sharpie draw a line around the bottom third of the cork. (The top part that acts as the head is about a third for measurement purposes). Pick which side you are putting the face on and try to note the front and the back.

Draw your two buttons on with the yellow/gold sharpie on the front and the back. These are in an oval shape.

Using the guideline previously drawn in red, color in your shorts.

Insert screw hook in the top of the cork.

MICKEY HAT

In black, Chain 2

Round 1:  6 SC in 2nd Chain from hook. [6]

Round 2:  INC in each stitch [12].

Round 3: (SC, INC) 6 times [18].

Round 4: (SC, INC, SC) 6 times [24].

Rounds 5-6: 2 rounds SC [24 stitches per row].

Fasten off. Weave in ends

EARS  (Make 2)

In Black, Ch 2

Round 1:  6 SC in 2nd Chain from hook. [6]

Round 2:  INC in each stitch [12].

Fasten off.

Fold Hat in half to see placement. Sew ears to hat starting at Round 3. Weave in ends

Insert a ribbon through the Screw Eye. Pull the ribbon through the hat and glue the hat down in a few places to the top of the cork.

Use Black Sharpie to make the oval eyes.

Use the Pink Sharpie to make the rosy cheeks.

FREE Crochet Summit VIP Pass

Crochet Avocato

The Crochet Summit is over, but I’ve got a free VIP all access pass to giveaway. On top of the Avocato, there are over 40 different classes and tons of free patterns. You can learn all types of thing. The pass will expire on 4/16 so if you enter be ready to use it.


To enter, simply comment on the contest Facebook post as to what you would like to make. https://www.facebook.com/DrunkenAuntWendyDesigns

That’s it!

Contest ends 4/15 at noon Eastern Standard time. Winner will be chosen at random and must respond to messages in order to get the code for the free VIP Pass.

Make me!!

Princess Leia Champagne Cork Ornament

Crochet Leia Cork

The Holidays and New Years are upon us. Do you need an excuse to drink Champagne? Well of course you need to make these little cork ornaments.

Get Corked and make some ornaments. Use #drunkenauntwendy if you make one. Go crazy and come up with your own. Remember the free patterns are not tested.

Other Cork Ornaments

Deadpool

Chicken Cork

Bunny Cork

Materials

Worsted Weight Yarn

Brown

Champagne Corks

White Acrylic Paint

Screw eye

Ribbon

Black Sharpie

Light Pink Sharpie

Silver Sharpie

Epoxy 6000

Gauge: is not important for this project

Abbreviations

SC – Single Crochet

CH- Chain

FO – Fasten Off

SL ST – Slip Stitch

INC – Make two Single Crochet in Same Stitch

DEC – Single Crochet two stitches together

BLOs – Back Loops Only

FLOs – Front loops only

Note: Hats are worked in the round. Use a stitch marker or a scrap piece of yarn to mark the beginning of each row. Then you don’t have to count every row. Do not join unless instructed to.

Parentheses indicate a repeat. Repeat the stitches in the parentheses for the number of times indicated.

The bracketed number [] is the number of stitches at the end of each row.

I spread my increases out so there isn’t a seam on the finished piece. If you do not like this method, you can do regular increases.

If you have any questions, please feel free to email me at drunkenauntwendy@gmail.com.

BODY

Paint bottom of cork white red with the acrylic paint. I recommend two coats.

Once the paint is dry. Insert screw hook in the top of the cork.

Using the Sliver Sharpie, draw the silver waistband.

Use Black Sharpie to make the Eyes

Use the Pink Sharpie to make the rosy cheeks.

HAIR

In Brown, Chain 2

Round 1:  6 SC in 2nd Chain from hook. [6]

Round 2:  INC in each stitch [12].

Round 3: (SC, INC) 6 times [18].

Now we start working back and forth not in the round. This gives her the part on the front of her head.

Round 4: SC in each stitch, ch 1 turn [18].

Round 5: DEC, SC 14, DEC, Ch 1 turn [16].

Round 6: DEC, SC 12, DEC, Ch 1, turn [14]

Round 7: SC row [14]

Fasten off. Weave in ends

BUNS (Make 2)

In Brown, Ch 2

Round 1:  6 SC in 2nd Chain from hook. [6]

Round 2:  INC in each stitch [12].

Round 3: SC row [12].

Round 4: DEC in each stitch [6].

Fasten off. Sew to the sides of hair.

Insert a ribbon through the Screw Eye. Pull the ribbon through the hair and glue the hair to the top of the court.

Tie ribbon in a bow and you have one Leia Cork.

Bride of Chucky (Tiffany) – Free Crochet Pattern

Crochet bride of Chucky

After a few movies Chucky got a wife and she is just as vicious as he is. If you use this pattern to make your own Tiffany, please use #drunkenauntwendy so I can find it on instagram and give you love.

This pattern is not tested. There is a baker’s dozen worth of free mini monsters so make them all.

Materials


I love this yarn – Antique White

Vanna’s Choice – Beige

Vanna’s Glamour – Onyx

Caron’s Simply Soft – Ivory

Purple eyeshadow

Black Sharpie

12 mm safety eyes

Doll Eyelashes

E6000 epoxy
Size E crochet hook

Large eye blunt needle

Polyfiberfill

Abbreviations

SC – Single Crochet

DC – Double Crochet

Ch- Chain
INC – SC 2 stitches into same stitch

DEC – SC two stitches together
BLO – Back loops only

FLO – Front Loops only

Gauge – Gauge is not important for this project, but if you are making it from the kit, you should use the right size needle to ensure you don’t run out of yarn.

Notes:

Parentheses indicate a repeat. Repeat the stitches in the parentheses for the number of times indicated.

The bracketed number [] is the number of stitches at the end of each row.

I spread my increases out so there isn’t a seam on the finished piece. If you do not like this method, you can do regular increases.

Crochet section is worked in partly in the round. Use a stitch marker or a scrap piece of yarn to mark the beginning of each row. Then you don’t have to count every row. Do not join unless instructed to.

If you have any questions, please feel free to email me at drunkenauntwendy@gmail.com.

EYES

Cut a section of 3 eyelashes and glue to the back of the safety eyes. Set aside to dry.

BODY

In Antique White, Ch 2
Round 1: 6 SC in 2nd Ch from hook [6].
Round 2: INC in each stitch [12].
Round 3: (SC, INC) 6 times [18].
Round 4: (SC, INC, SC) 6 times [24].

Round 5: (3 SC, INC) 6 times [30].

Round 6: In BLOs, SC row [30].

Rounds 7-9: 3 rows SC [30 per row].

Round 10: (13 SC, DEC) 2 times [28]. Round 11: (5 SC, DEC) 4 times [24].

Round 12: (4 SC, DEC) 4 times [20].

Round 13: (8 SC, DEC) 2 times [18].

Round 14: (SC, DEC) 6 times [12].

Fasten off, leave a long strand for sewing.

RUFFLE ON BOTTOM OF DRESS

In Antique White, Attach to unused loops in Round 6

Round 1: Inc in each stitch [60].

Round 2: SC in each stitch [60].

Fasten off.

HEAD

In Beige, Ch 2
Round 1: 6 SC in 2nd Ch from hook [6].
Round 2: INC in each stitch [12].
Round 3: (SC, INC) 6 times [18].
Round 4: (5 SC, INC) 3 times [21].

Round 5: (6 SC, INC) 3 times [24].

Rounds 6-8: 3 rows SC [24 stitches each row].

Stop here and insert safety eyes between rows 6-7. Before attaching the back, brush purple eyeshadow heavily around the top of the eyes and lightly around the bottom,Start stuffing.

Round 9: (6 SC, DEC) 3 times [21].

Round 10: (5 SC, DEC) 3 times [18].

Round 11: (SC, DEC) 6 times [12].

Round 12: DEC 6 times [6].

Fasten off. Attach to Body.

HAIR

In Fuzzy Yellow

Take a piece of yarn and measure the crown of your dolls head. Set this aside, you will use this to make sure you make enough hair.

Using the hair color, wrap the yarn around an item the same width as you want the length of your hair to be. (I used my iphone). These wraps should be as long on the phone as your set aside piece of hair. The more wraps you do, the thicker the hair.

Then using the same yarn, SC along the spine of your item catching 3-4 pieces of yarn at a time. (This secures the hair). Fasten off and leave a long tail for sewing.

Cut the hair at the other end.

Lay chain on head with hair covering face and tack down. Flip hair to the back of the head and start tacking down sections. Leave some free. Using the Sharpie, Make the roots black.

JACKET

In Onyx, Ch 31

Row 1: SC in 2nd chain from hook. SC in remaining 29 stitches, Ch 1, turn [30]

Row 2: Sc 30, Ch 1, turn [30].

Row 3: Sc 30, Ch 1, turn [30].

Row 4: Dec, SC 26, DEC [28].

Row 5: DEC, SC 22, DEC [26].

Row 6: DEC, SC 18, DEC [24].

Fasten off leaving a long tail. Sew to body under head. Use the tail to embroider a mouth.

Steve Stickler

Crochet grafted cactus

It’s time to crochet another cactus. You can make a cactus army with Steve Sticker, Mrs. Prickles, Casey Cactum and Cacti Carl.

The pattern is not tested. Please let me know if you have any issues. Use #drunkenauntwendy when you post your work so I can find it and give you love. Crochet grafted cactus

Materials

I love this Yarn – black
I love this Yarn – Limelight
I love this Yarn – Sungold
I love this Yarn – Red
2 12 mm safety eyes
Size E crochet hook
Small Terra Cotta Pots
Poly fiberfill
Large eye blunt needle

Abbreviations

Ch – Chain
SC – Single Crochet
INC – 2 Single Crochet in designated stitch
DEC – Single Crochet 2 stitches together
DC – Double Crochet
BLO – back loops only

Gauge is not important for this project unless you have purchased a kit. Using the right size hook is important to ensure you have enough yarn.

Notes: Almost the entire project is worked in the round. Use a stitch marker or a scrap piece of yarn to mark the beginning of each row. Then you don’t have to count every row. Do not join unless instructed to.

Parentheses indicate a repeat. Repeat the stitches in the parentheses for the number of times indicated.

The bracketed number [] is the number of stitches at the end of each row.

I spread my increases out so there isn’t a seam on the finished piece. If you do not like this method, you can do regular increases.

If you have any questions, please feel free to email me at drunkenauntwendy@gmail.com.

BASE
In Sungold, Ch 2
Round 1: 6 SC in 2nd Chain from hook [6].
Round 2: INC in each stitch [12].
Round 3: (SC, INC) 6 times [18].
Round 4: (SC, INC, SC) 6 times [24].
Round 5: (3 SC, INC) 6 times [30].
Round 6: SC row in BLOs [30].
Round 7: (DEC, 3 SC) 6 times [24].
Round 8: SC row [24].
Round 9: (DEC, 2 SC) 6 times [18].
Round 10: SC row [18].
Round 11: (DEC, SC) 6 times [12].
Round 12: SC row [12].
Stuff
Round 13: DEC 6 times in BLO.
Fasten off. Using a long tail sew up opening. Stuff into the pot. You can glue it in if you want.

Red Bulb (Note this piece is worked back and forth)
In Red, Ch 11
Row 1: Sc in 2nd Chain from hook, SC in the remaining 9 stitches. [9].
Rows 2-21: Ch 1, turn SC in BLOs for 20 rows [10 stitches per row].
Row 22: SC to the starting chain to create a tube.
Fasten off leaving long chain.
Thread tail though one end of the tube to close it up making the top of the bulb. Don’t cut
Insert Eyes and embroider a sideways smile.
Stuff. Push the tail through to the bottom and thread through the bottom opening to close up the bulb.

STALK
In Limelight ch, 2
Round 1: 6 SC in 2nd chain from hook.
Round 2: INC in each stitch [12].
Round 3: SC in BLOS [12].
Round 4: SC [12].
Rounds 5-10: SC in BLOs for 6 rows [12].
Fasten off.

Ruffles on the Sides of Cacti (Make 4)
In Limelight
Row 1: Slip stitch down the stalk using the BLOs (8 stitches)
Row 2: Ch 1, Turn increase in each stitch. [16].

Stuff stalk. Attach bulb to closed end of stalk.

Attach the open end to the base.